
|
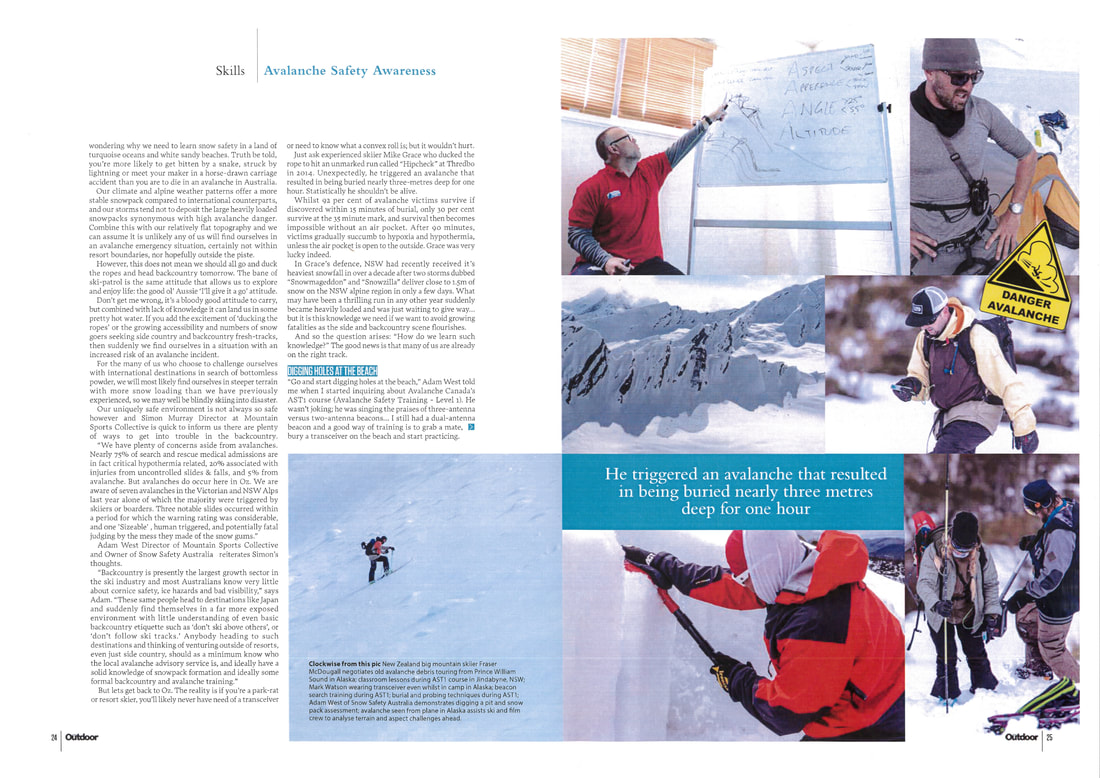
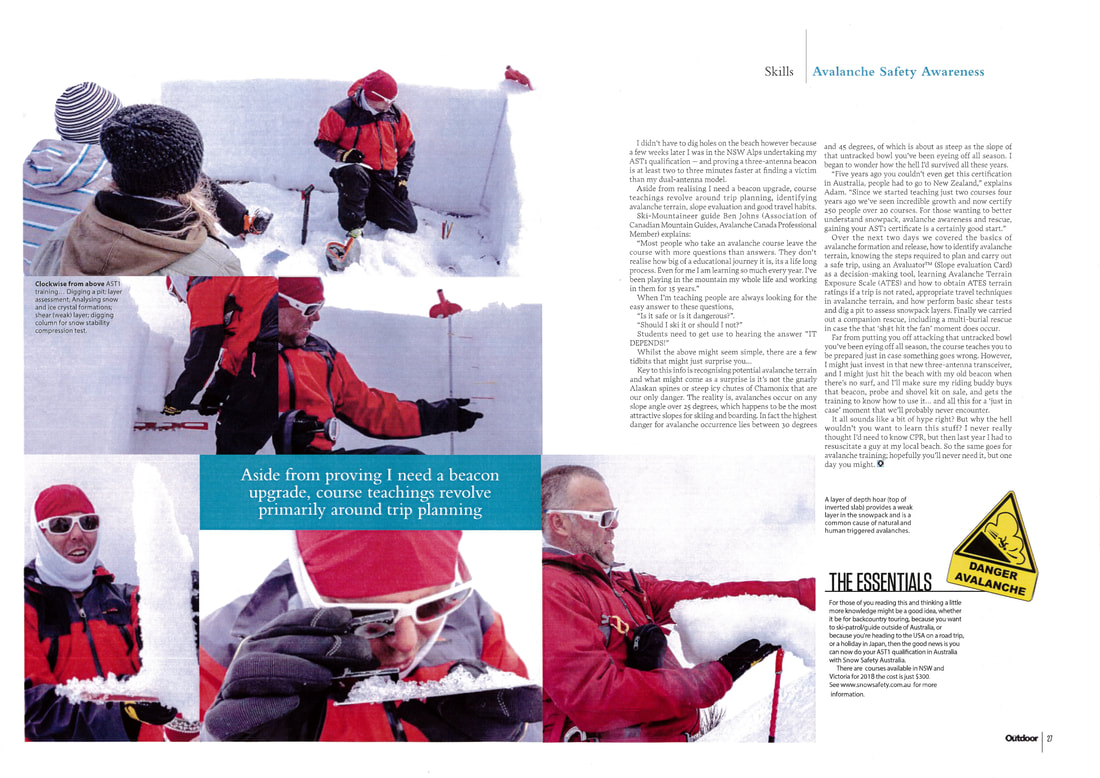
A thoughtful reflection on lessons learnt from accidents during the winter There is no doubt that this winter has been memorable. Extensive snow cover, combined with low temperatures has provided us all with an exceptional winter playground. Whether it’s hill walking, mountaineering, ski touring or climbing the opportunities have been endless. And there has been no shortage of us getting out there ‘doing our thing’ enjoying the great conditions. Social media and the outdoor press have been awash with inspiring adventures and stunning photography. I guess it’s always going to be a numbers game; an increase in the number of people enjoying the hills often reflects in the number of people getting into difficulties and, sadly, in the first three months of 2018, 10 people have lost their lives in the Scottish hills. I think it is really important that we are able to access information regarding what went wrong so we can all learn and potentially avoid the same pitfalls. What is very clear to me, studying accidents, is that it is rarely a single error that results in a call to our mountain rescue services. We are all human; none of us can be total experts in our field due to the very nature of the environment that we choose to play in. However experienced we are or however thorough our preparation and planning is, curve balls will head our way. We can never totally predict the vagaries of nature that can be thrown at us in a Scottish winter environment and neither would we want to, as that is part of the attraction, the adventure, the making decisions that have very real consequences.  Which bring me to cheese. Swiss cheese to be precise. The stuff with big holes in it that looks as though the mice have been having a party on the supermarket shelf. Line up some slices of Swiss cheese; some holes will line up and some won’t. Imagine each slice as a potential challenge you face in the mountains, for example crossing a burn in spate with melt water. If you are careful and pick the right location, and your balance is good, and you have poles for support, you will get across safely and with dry feet. But, take a slip on an icy boulder and the feet are wet with boots sodden. With increasingly cold feet, you carry on and hit the next slice of cheese: the cloud level has dropped unexpectedly and careful navigation is required, particularly as you know you are near what is a potentially corniced edge. You haven’t got a map or compass so you are relying on your mobile phone, which so far is serving you well. But with continuous exposure to cold, your battery dies and you slip through a hole in the next layer of cheese. With numb feet and failure to take on food and drink, your energy levels are dropping and concentration is becoming more difficult. Then, just when you thought you were nearing the summit, you take a slip on an icy bit of snow, crampons in rucksack still. You start sliding, through another hole in another slice of cheese, and it’s game over. This story is fictitious but the ‘slices of cheese’ described illustrate the causes of accidents this winter: navigation errors, over-reliance on modern technology, slips and hypothermia. What’s crucial for us all is to recognise when we come across a ‘slice of cheese’ and make the right choices. We all learn by experience; in fact experience is a hugely effective tool for learning. Think of each slice of cheese as a key opportunity to learn and readjust plans for the day, each of our experiences adding to our adventures rather than escalating through one hole after another with the resulting negative outcome. Take a look at ‘The Swiss Cheese Model of Accident Causation’ below, which highlights how, with the awareness to recognise these layers or challenges that we will inevitably meet with during our adventures on the hill, we can turn them into positive decision-making moments, continuing to learn and enjoy our magical winter wonderland. 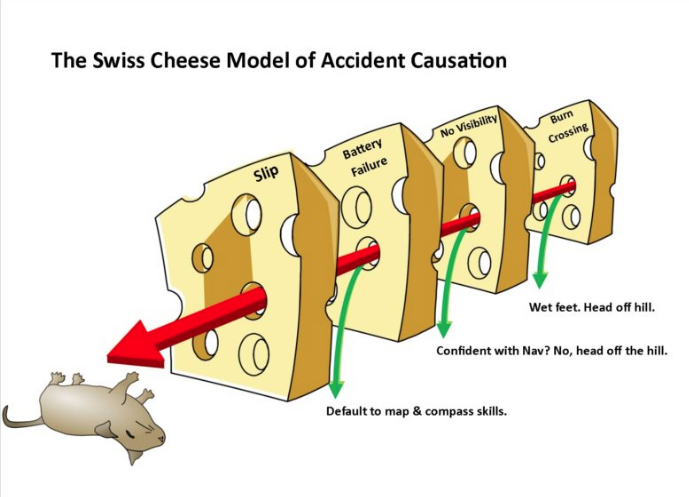
0 Comments
When you think about evaluating the snowpack, digging a pit is a direct way to observe what the snow is doing in a given area. A snow pit is a crucial tool in assessing what we think is going on and verifying it or gathering more information to answer a specific question about the snowpack. If you’ve taken your Avalanche Level 1 or higher, you’ve stood inside the cold depths of one of these and dissected it. Unfortunately, like many things, without practice, we get fuzzy on what exactly we need to look for each time we dig. Before you even begin to dig, ask yourself what you expect to find or see based on the weather patterns so far and the area you’ve selected. Is there a problem layer you think might be reactive? Remember that pretty surface hoar from a few weeks ago, do you know where it’s sitting and on what aspect? What specific questions are you trying to answer by delving into the snowpack? It’s helpful to approach your pit like an experiment. You have an idea of what you might find and when you dig you will either prove or disprove it, giving you more information to assess your ski terrain and potential hazards moving forward. "Remember that pretty surface hoar from a few weeks ago, do you know where its sitting and on what aspect?" With that in mind, here are a few of the top things to look for when analyzing your pits. 1 Spot the Obvious Layers: When you start digging, note the most obvious things you’re seeing in relation to the snow. Problem layers can often be seen or felt as you start to dig out your pit. An ice layer is going to feel hard as you try to dig through it, just as noticing a clean sheer on a buried surface hoar layer can grab your attention as it continues to break at the same spot. Note what jumps out at you immediately. Is it what you expected or is it something you weren’t anticipating? Every step in digging your pit can give you information on how the snowpack is currently reacting. Observe any possible problem layers and mark them for further investigation on both your observation wall and in your backcountry journal. Spot the obvious layers 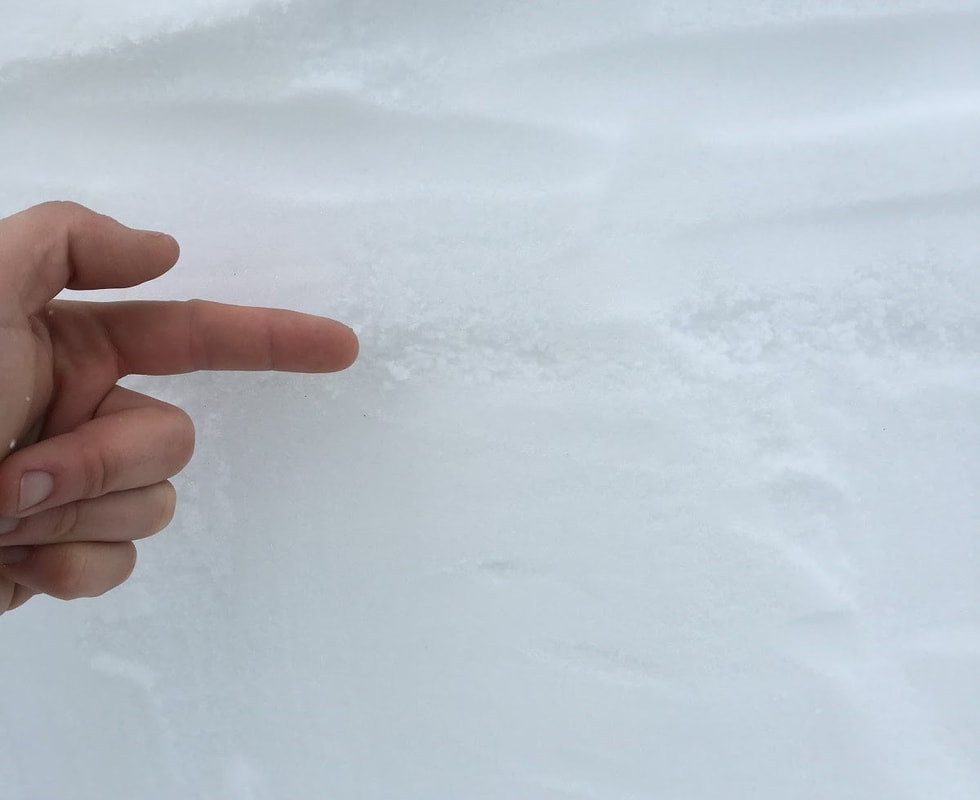
2
Identify the Differences in Hardness: This is a step that can easily be forgotten but is important. On your observation wall, identify the difference in hardness of your layers in the snowpack as measured by Fist, 4-Fingers, 1-Finger, Pencil, Knife, Ice. Thinking of the snow as a layer cake, you’ll be looking for noticeable differences; like an ice layer over facets, or a harder, denser layer sitting on top of a layer that could act as a sliding surface. This combination indicates the potential recipe for a slab and a surface for it to fail on. Other things to look for are differences in snow density, especially between two recent storms. For example, if a denser, heavier layer is sitting on top of a lighter layer (upside down snow) you could have a slab and a failure at the density interface. Or if you find a harder wind slab sitting on top of a sun crust, ice layer or change in snow hardness, you’ll want to examine that closer. Identifying the different hardness layers can immediately bring your attention to a layer that’s suspect or has the potential to fail. Pay attention when you find these and mark the different layers in your backcountry journal and also by creating an indentation in the observation wall itself. It’s also helpful to understand where each layer lies within the snowpack and if it might have the potential to be reactive in the future. Here is a good link if you need a refresher on testing layers Identify the differences in hardness 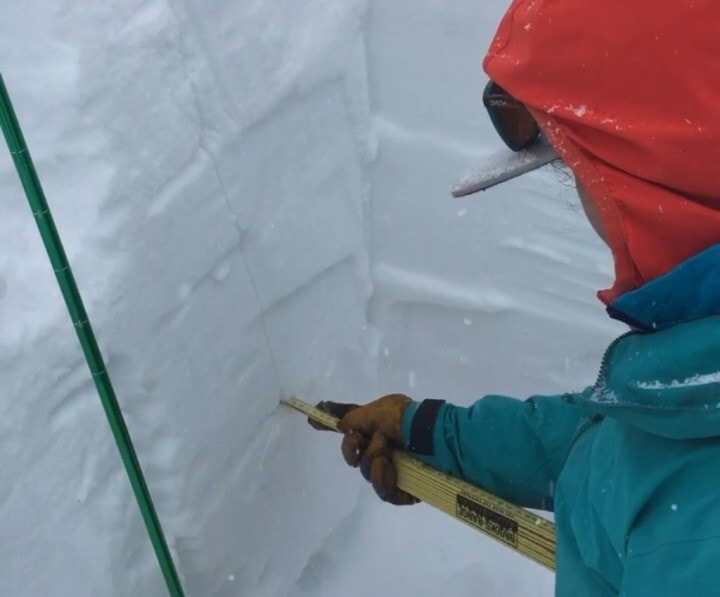
3
Snow Stablility Tests: Once you’ve identified the layers within your pit and potentially highlighted some that could be problematic, it’s time to test stability and reactivity. The two most common stability tests are a compression test and an extended column test.
As you perform your test note which layer(s) failed, whether propagation occurred and on what number of taps. Record your results as ECT, P for propagation, N for no propagation, or X for no results with the number of taps. For example, ECTP23 means in your extended column test you had a failure and propagation at the 23rd tap. Make sure you record where (how many cms deep) and on what layer the failure occurred, noting the interface. Taps translate to the force or weight needed for a particular layer to fail which can identify additional red flags. It’s easy to walk away if you’re seeing a clean propagation result after a few taps indicating that it wouldn’t take much to initiate a slide. But, what if you’re getting results on 25, 28 or even 30? It could in some cases (especially if you’ve been tracking a specific layer) indicate that the snowpack is gaining strength over time, which is a good thing. Keep in mind though, a consistent failure at a higher level of force or weight creates the situation where a false sense stability could lure you into larger terrain with fatal results if it fails. This is often seen with persistent slab layers and can be viewed as a potential ticking time bomb. No matter what, if a block pops out at you with energy during a stability test (especially if it happens more than once) it’s going to be a low angle pow day. Any failure and propagation that moves with energy is a bright red warning sign that things are primed to go big or even be triggered remotely. Finally, one test is not enough to give you a full picture of the problem. Note that with additional tests you can verify a repeating result or lack of one like a typical science experiment. That said, getting no result does not automatically mean you’re in the green. Dig on different aspects and elevations to see if there are reactions elsewhere. Always be suspicious. Snow Stability Tests 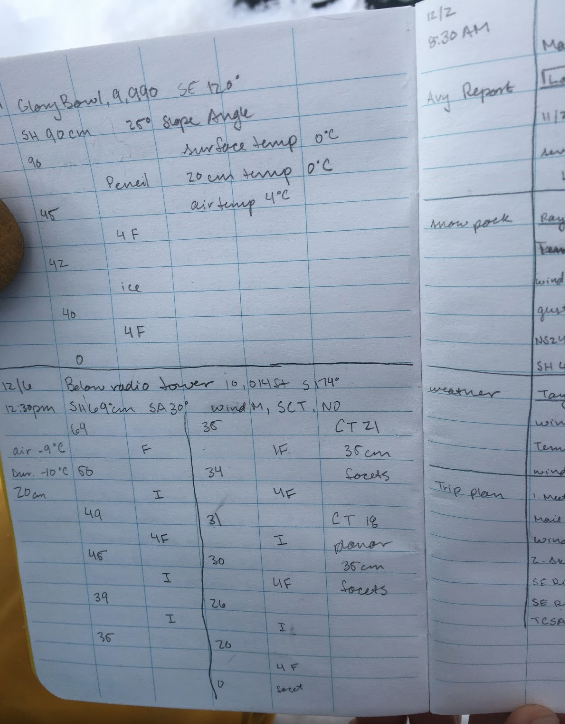
4
Results and Next Steps: Based on what you’ve observed from your pits and stability results, you should have a better understanding of how the snowpack is reacting in your chosen area. Once again, the lack of a result in one snow pit should never be a green light to ride suspect terrain, but it should give you additional information to support your plan and comprehension of the current snowpack behavior. Next steps would be to document your findings in a notebook throughout the season, continue to dig pits on a variety of aspects and elevations, and use that information to forecast a full picture for yourself. It’s also never a bad idea to consider a refresher avalanche course or continuing education clinic. Over time standards evolve to more efficient and effective tactics; learning the most up-to-date processes for snowpack analysis helps keep you on top of your game. Not to mention it gives you the opportunity to learn new tricks! Making Observations 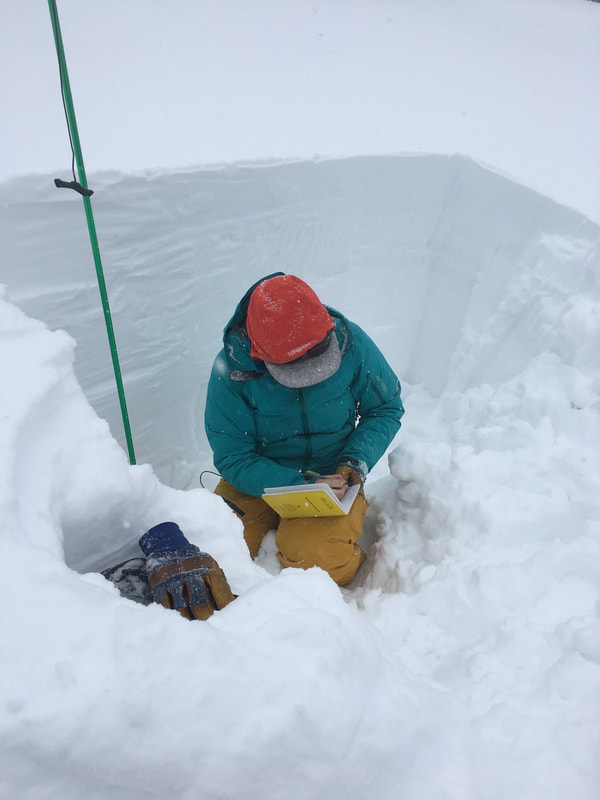
Summary
Although it can feel time-consuming, making the effort to dig snow pits and track problem layers over the season gives you a great idea of what you can ride and when especially in relation to consequential terrain. Do yourself a favor, take a sunny “rest” day and go dig some pits with your friends to see what you find. It’s great practice and you’ll take away a deeper understanding of what you’re either about to go ride or will ride later in the winter.  We have loaded a load more snow pit data for you to look at from the past years .
See link below to view info http://www.snowsafety.com.au/conditions.html 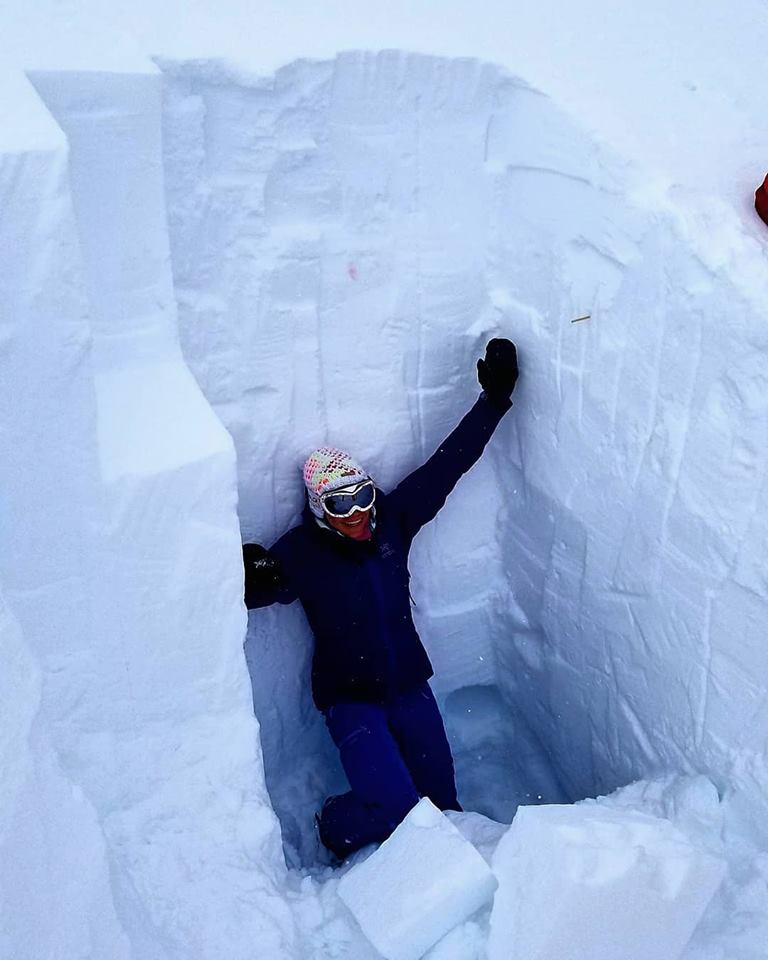
My guests had too much energy today. So I made them dig a 250cm deep snow pit!
I wanted to find the fattest snowpack and see how the DPWL was changing. Sure enough we found a 20cm thick Facet layer down 220cm that was alive and well below a solid snowpack. You can see in the photo the hollow where we scooped the loose Facets out with our hands. We didn't do any tests on the layer, but I wanted them to see what we were skiing on. Most people don't fully understand what weak layers we ski on. This is why it's so important to check the avalanche bulletin everyday, even if you plan on not skiing. Today our main concern was the fresh windslab. The video shows this failure between the old snow and the most recent storm. Pit data: Location: Stormheimfjellet, Appearance: planer slope immediately Lee of a ridgeline, large gradual convex roll Elevation: 800m HS: 290CM Angle: 32degrees Aspect: E 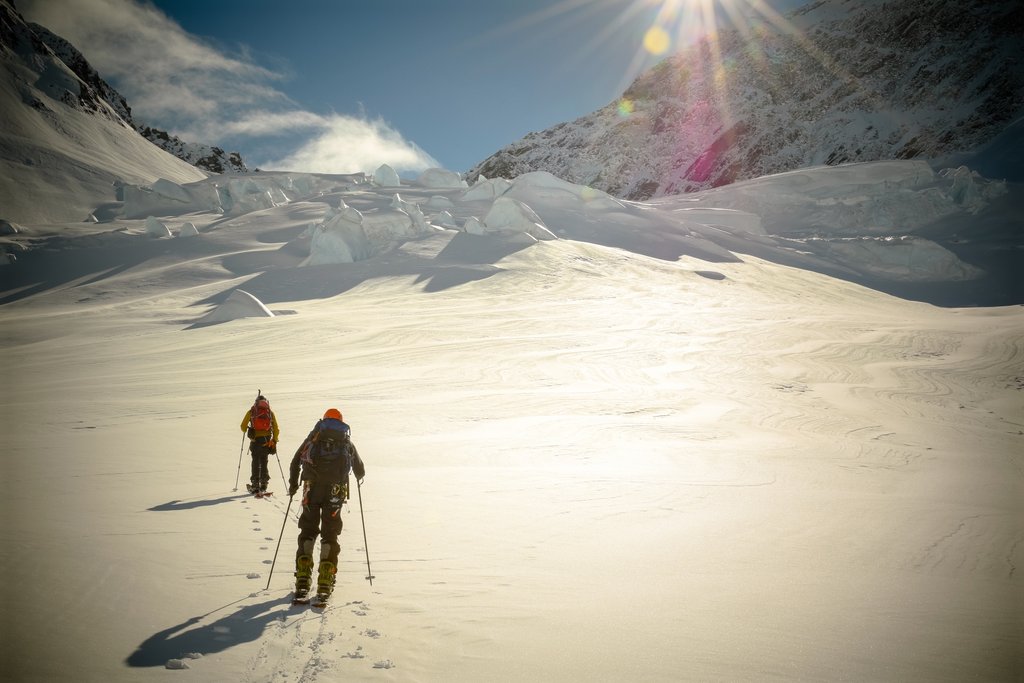 Writer (Mike Wigley) and Rowan Bashford skinning up the Mueller Glacier, New Zealand. Photo by: Tess Carney
What to carry in your pack for a tour:
Morning Rituals:
At the Trailhead:
While Skinning:
Switchovers:
Extra Helpful Tips:
Enjoy the journey of it all. It’s not all about bagging peaks and slaying lines, it’s about the whole process of connecting in the mountains with friends and loved ones. There’s a lifetime of lines out there to explore, enjoy the moment. See full article here Will we get snow tomorrow on the main range? Snow is falling in TAS today. fingers crossed for some white stuff this week. 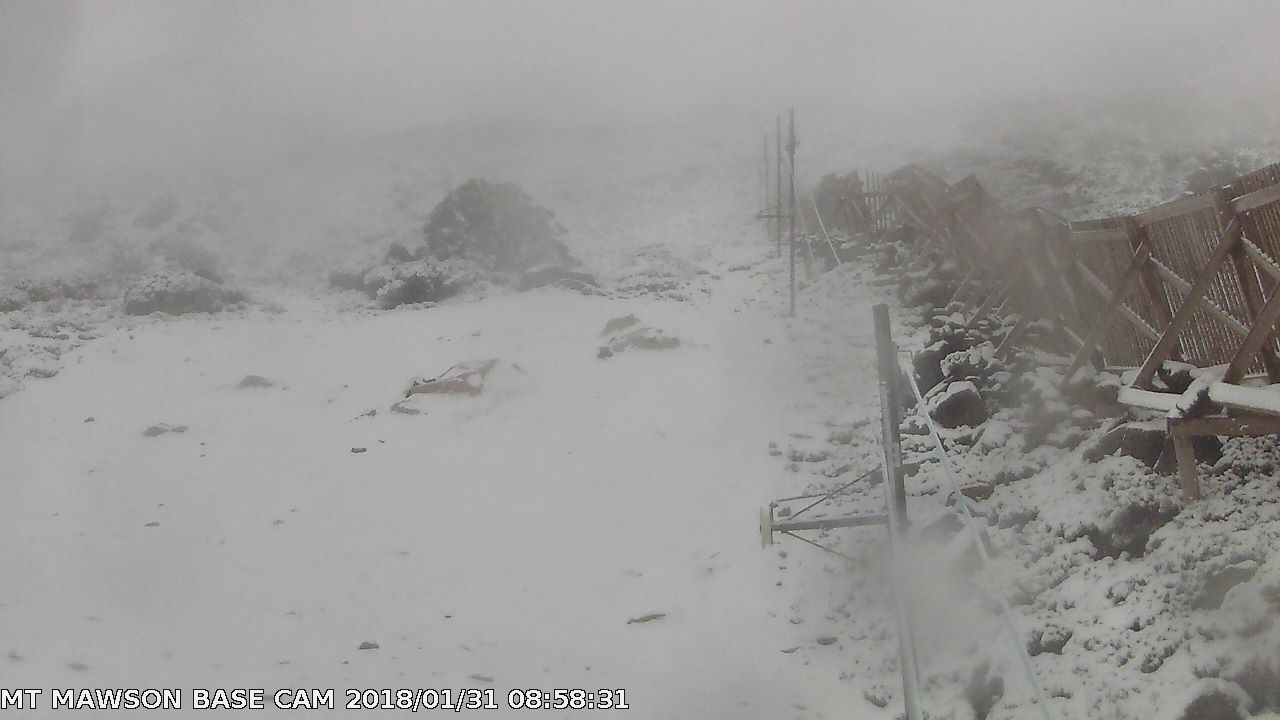 Tasmainia Jan 31 2018
 Some info from Snow Safety australia friend Anthony Von Chrismar
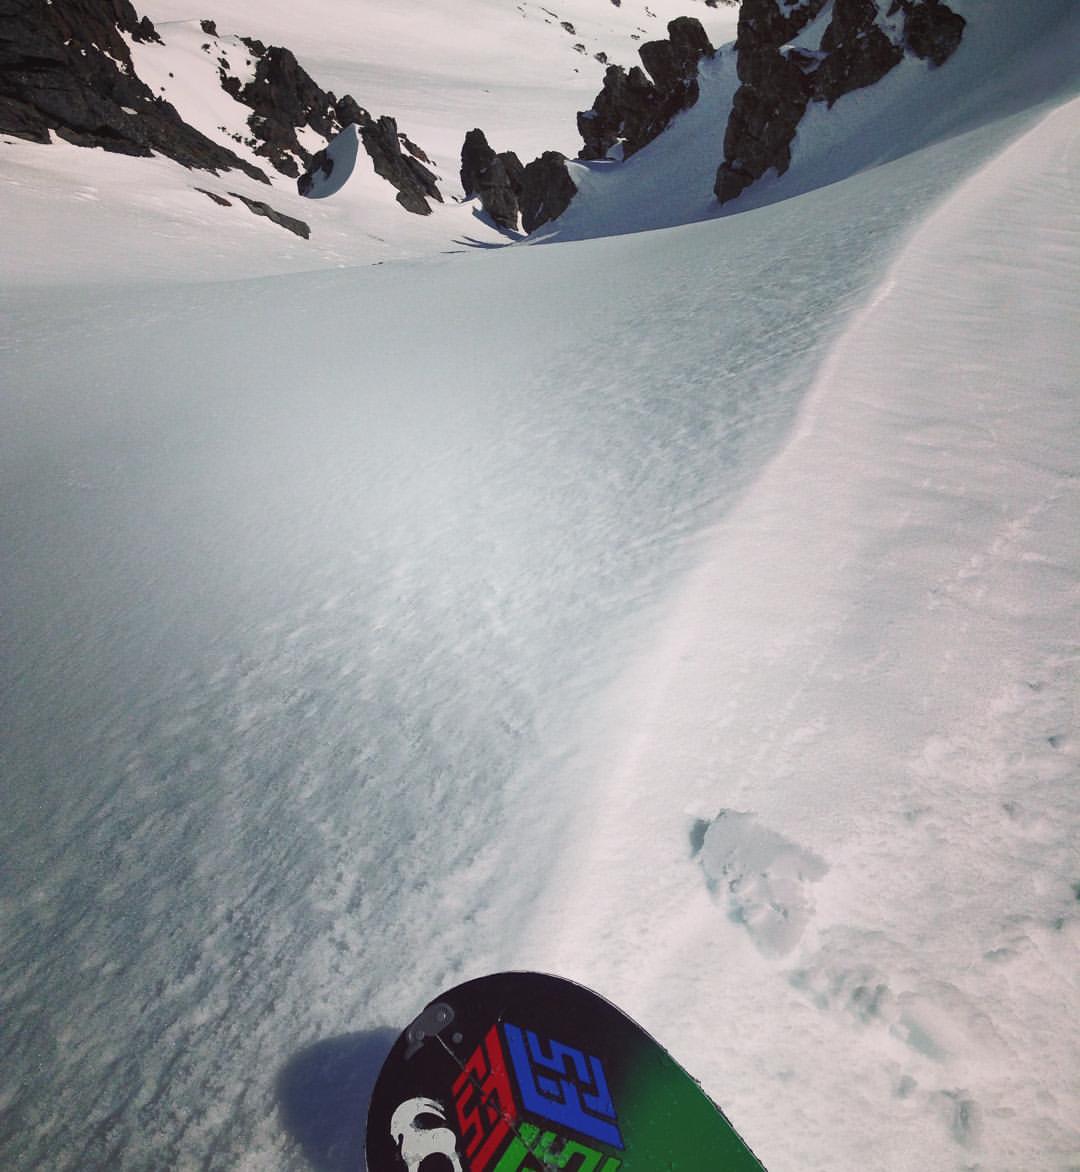
A pre-drop shot from a few years back, and a memorable one that led to barely holding an edge on beyond boiler plate ice, in an un-scoped line, arrested by a scantly penetrated axe and delicately transferring to crampons - a scenario that's been played out by others, I'm sure, and one that you can only learn from. This kind of thing happens with freeriding and you have to be prepared for it. The terrain in Australia may not have the consequence of close out bluffs and countless vertical below you, but a lost edge on an icey face in the main range can quickly lead to a major incident. A conversation with Adam West from MRBC the other day brought up the topic of rescues on the main range - the facts came out that, despite being an embarrassing event, an emergency response from SES may not be as quick as you think...you may be out there over night and fatigue, dehydration and hypothermia gets real very quickly on the main range. What that means is, you can't rely on others, you need to educate yourself and you need to be prepared. There's a bunch of other things to think about when riding more technical terrain. Aside from the usual: do I have a map/GPS?... do I know where I am?... does anyone know I'm here?..what's my emergency response plan/PLB?...how accessible is my PLB?... evaluation of snow/ice on different aspects read during the approach?..do I have the energy?...what's the group dynamics?...do I have time to drop this line?..., Entering a line in technical terrain requires consideration of: the snow pack stability/condition and therefore how do I ride it?....where's the exposure?....where's the safe zone?....if it's icey and you're a boarder is it likely to be a heel or toe edge that will give and require self arrest ?..and therefore how do I hold the ice axe for maximum efficacy for self arrest?.. are my crampons accessible?... how do I even transition to crampons on a 35-40 degree face when I've got one hand on an axe that can barely penetrate the ice and an edge that could slip at any point?...can I build an anchor? These and more are all aspects to consider to stay safe out there, especially if pushing your riding/skiing in more technical and remote terrain where it's really just comes down to your decisions. The first thing on a center’s site is the current avalanche danger—low, moderate, considerable, high, extreme. Don’t stop once you’ve read that rating. Along with each rating is travel advice, as well as information on the likelihood of avalanches and where they may be found. For example, moderate danger, by definition, means there are heightened avalanche conditions on specific terrain features — natural avalanches are unlikely and human-triggered avalanches are possible. This means that one can find either small avalanches in specific areas or large avalanches in isolated areas. Since the consequences of small and large avalanches can be very different, you have to dig deeper, beyond just the danger rating, in order to understand what moderate danger means for your day. UNDERSTAND THE NATURE OF THE PROBLEM Forecast centers will often refer to the avalanche problem—storm slab, wind slab, persistent slab, deep slab, etc. Different problems require different management techniques and different terrain choices. Identify the avalanche problem(s) for the day, as this should help guide your route for the day. If it’s a year where the problem is persistent or deep slabs use extra caution. These problems are hard to predict and can fool everyone, even the most seasoned veteran. KNOW IF THERE’S BEEN AVALANCHE ACTIVITY IN THE LAST 48 HOURS Avalanche activity is Mother Nature screaming in your ear that instability exists. Therefore, seek out information about avalanche activity in your local area. If there has been recent avalanche activity, understand where it is taking place—what aspect, what elevation, and what weak layer. Consider how conditions have changed since the most recent reported avalanche activity and use this information to determine your terrain choices for the day. UNDERSTAND PAST, PRESENT AND FUTURE WEATHER Weather creates the snowpack, which means that weather has a big influence on avalanche hazard. Seek out weather data on the forecast center’s sites or follow links to local weather stations. When studying the past weather, ask yourself the following:
LOOK FOR TRAVEL ADVICE Forecasters often add commentary to their forecasts. Read it. There are words of wisdom in there, and there’s often advice about terrain to avoid. Reading the avalanche forecast should be the start of your day. Once you’ve read it, you can choose terrain that is appropriate for the hazard, as well as for your group. Remember that the forecast is just that…a forecast, not the law of the land. Avalanche forecasters are issuing a danger rating for large areas in the mountains, and many variables, including terrain features, terrain positioning relative to storm tracks and local weather patterns, can influence slope-scale hazard. The forecast that the avalanche center issues should be used as a hypothesis for your travel day. Test it while you are in the field and prove or disprove the hazard rating through snow and weather observations. If it’s not adding up, adjust your route and report your finding back to the center. And if you’re ever in doubt, choose simpler terrain. More tests performed on 06/09/15
There is a solid sun crust from melt / freeze cycle since the last snow fall on the 03/09/15. This snowfall is well preserved below the 10cm of crust on the surface. The depth of the preserved snow is approx. 20cm. this is sitting on another well defined hard layer. We got a CT2 RP on this 20cm layer of new snow on both columns but there were no other persistent issue further down in the snow pack. Pit was on a NE aspect @ 1980m with a 32 deg slope. Snow pack depth was 180cm |
Archives
March 2022
AuthorSnow Safety Australia is a NSW based information website. Categories |

 RSS Feed
Training Courses |
Company |
|